Words: Jeff Ware Photography: Dave Herdman (action), Jeff Ware
So now my RS was looking good and I felt great about the effort I was putting in to make it mechanically up to my high standards. It was during this final assembly that I wire-wheeled and then resprayed all black chassis parts, like the sidestand and bracket, fairing brackets, reservoir brackets, pillion peg and exhaust hangars, basically everything black was re-painted. Painted silver parts were also resprayed and bare alloy was polished up, which was a slow and tedious process. I could not get all corrosion marks off the frame as I did not want to cut through the clearcoat on the frame rails.


Black plastic parts were cleaned up and treated with a rejuvenation gel I got, which was fantastic, and a new battery went in along with a new airfilter and fuel filter. The fuel tap was rebuilt and as I was on a budget I really skimped here and rattle can sprayed the tank then fitted some random Aprilia decals I had on hand. Looks OK to me!

The fuel cap was cleaned, stripped and resprayed and a new OEM chain guard fitted along with chain and sprockets.
I bought an RS250 fairing fastener kit online and after spending a full day polishing and cutting back the fairing panels and top fairing, I was satisfied I didn’t need to get the panels repainted and could keep it as original as possible, these were then wrapped up and set aside.


Next a new set of OEM grips went on, along with levers, gear lever rubber and rear brake rubber, indicator lenses and then came the hard one – I needed a right-hand switchblock and could not find one anywhere… In the end I bought a damaged one for 100 bucks and had to make one good one out of two damaged ones.
I then found and fitted some OEM bar-end weights and made a good like-new kickstarted from three that I had.


It was around this time I stopped for a few weeks. I had been in the shed for two or three hours every night after the kids went to sleep, so gave myself a break to make sure I don’t rush the job towards the end, as I tend to do.


I sat down with a notepad and torch and had a really good look over the bike, listing what was left to do and any parts needed.
First on the list was a couple of master-cylinder kits, which I had forgotten to order. I also need new brake pads and caliper pin retaining clips. Aside from that, it was just a few OEM fairing clips and rubbers plus some missing rubber washers to go with the fastener kit, along with a new screen and a top fairing bracket.


The new parts were ordered and a used top fairing bracket found, thankfully! These are so rare as most production racing rules the World over require them to be retained, so they are all trashed…
The one I bought was resprayed and fitted and looked could. So I thought…
I rebuilt the front and rear brakes and fitted them up, then it was time to fire the bike up for the first time…

With fluids in and bled where required, the RS fired after just three kicks. It was a proud moment and at no time did I doubt the engine – I have built so many VJ22 motors and did this one with extra love…

After the usual leak checks it was time to dress the bike.
It was at this point I realised the top fairing bracket was bent, as the rear two bellypan bolts did not line up.


Well, let’s just say I swore a bit and two hours later it all looked awesome!
The very next day I registered the bike and on the following Sunday, took it for its maiden run. First stop was to the in-law’s house where Heather and I re-enacted the same pic we had done in 1999. That’s a cool one to have, even if we have aged so much!

We then went for a spin… not quite as comfy on the pillion perch as Heather remembered it to be when she was 20-years-young…
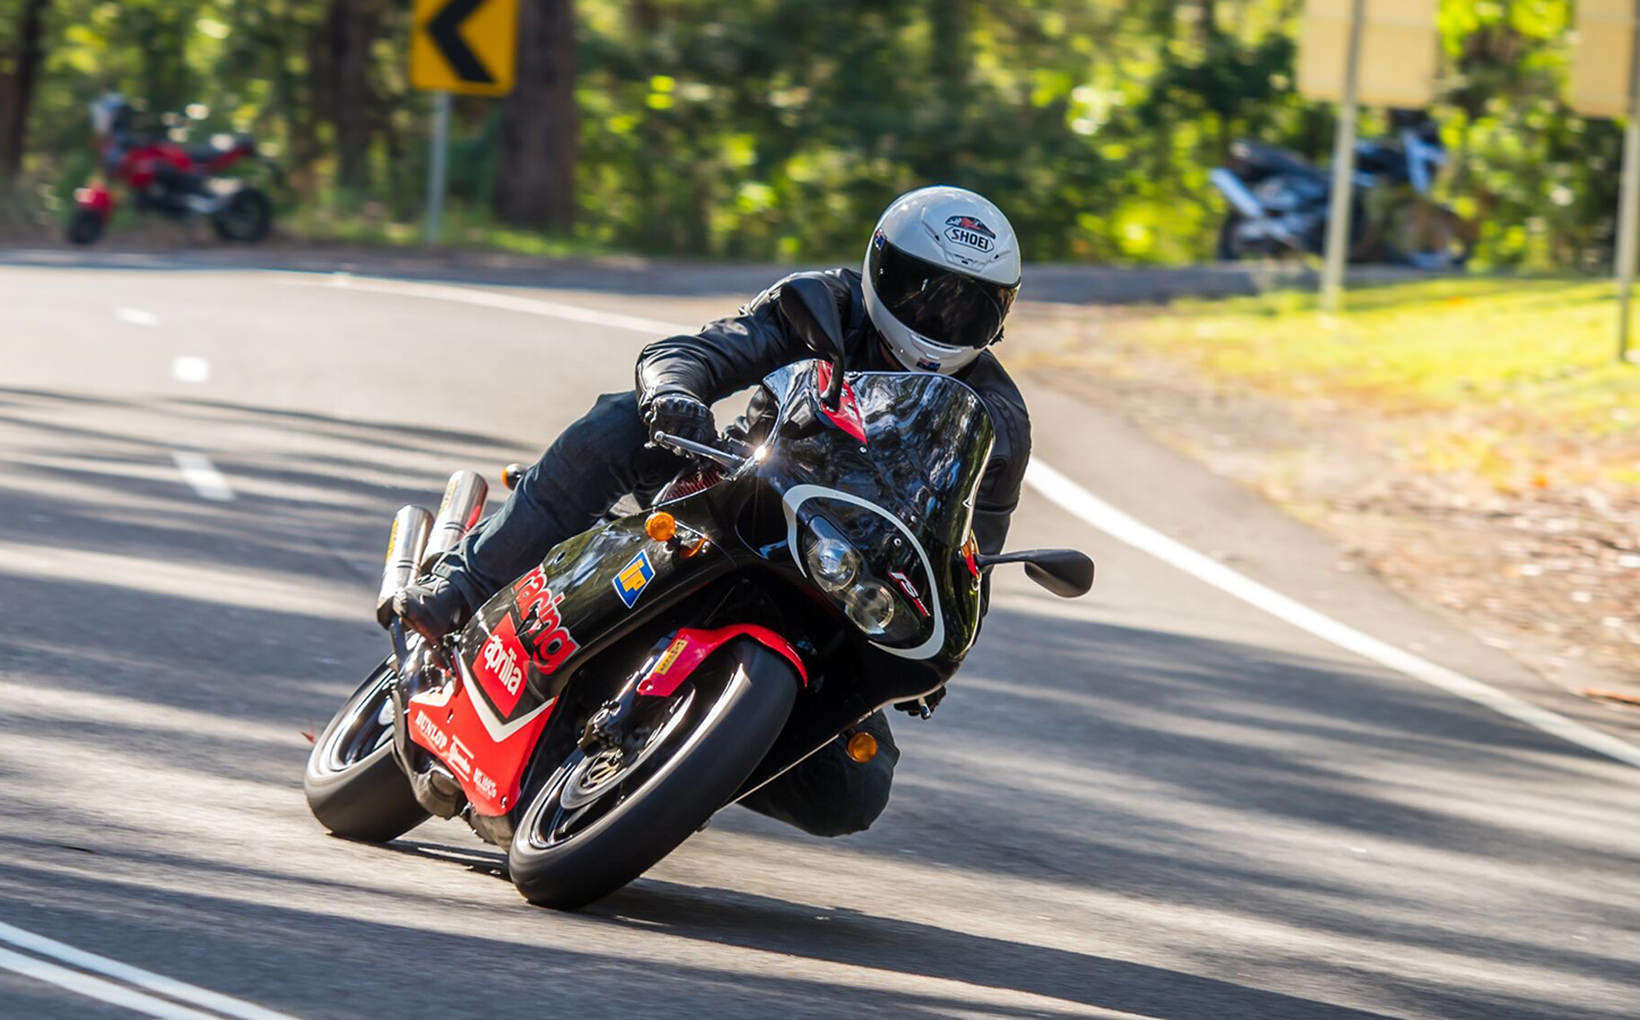
I spent the rest of the day having an absolutely awesome time. I headed up to my local twisties and rode all the routes I did back in the day when I was almost 20-years younger. I was so slow to react to the snappy and agile RS at first but by the end of the day I was in full swing and realised pretty quickly that these days, I’ll end up in the lock-up if I keep riding this bike on a regular basis…


I got home on dark and sat in the shed with a few cold beers and just admired my bike. I felt true love…
Not long after, baby four popped out, so the RS250 went as quickly as it arrived. God knows how much one will cost me when the kids move out in (hopefully) 20-years.
Damn kids and their need for food and education. Jeez…
Anyway, I still smile about the RS250 Harada. I can still smell the TTS!

Protect your motorbike. Call Shannons Insurance on 13 46 46 to get a quote today.

